I offered to make my friend´s daughter a birthday cake but didn´t want to make a cake that would take too long or be too complicated to make, especially the decorating part,seeing as I have relatively little time to bake.Also the lack of fondant etc played a fundamental part in my idea for this cake.
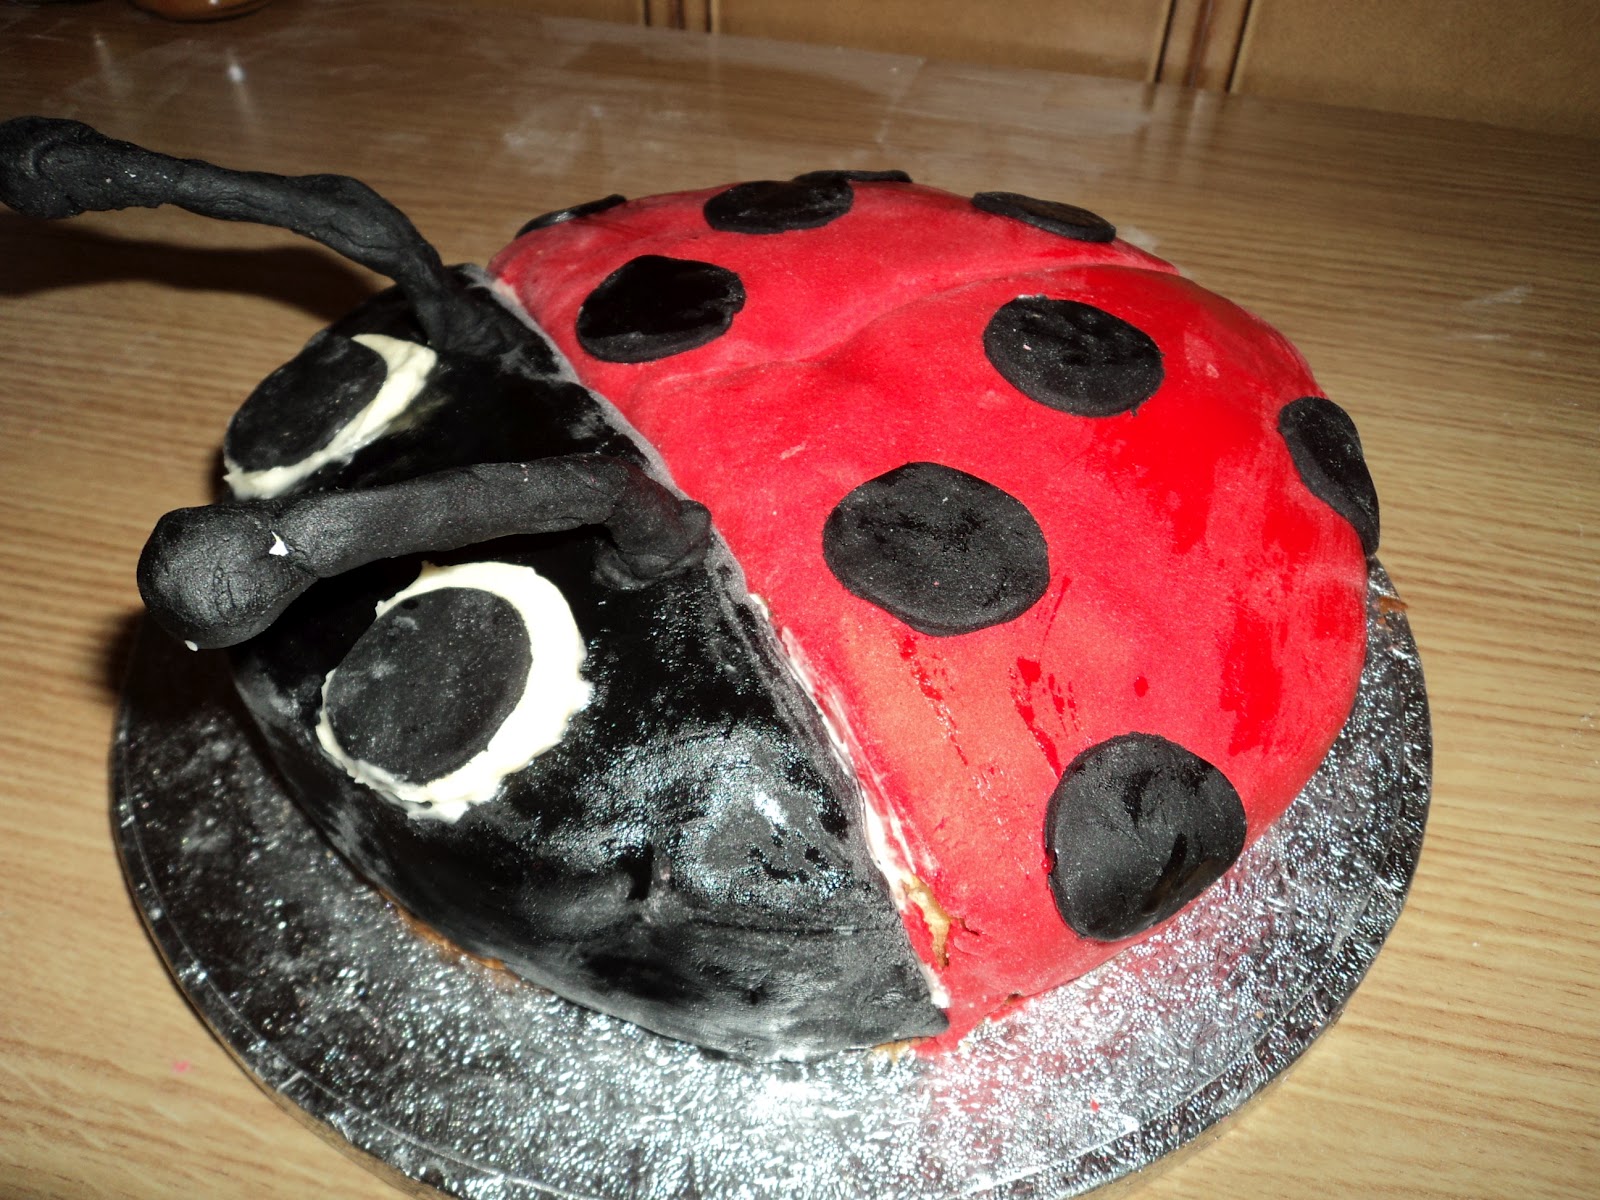
I chose to make Delia Smith´s All-in-One Sponge (this is more or less the recipe I used minus the butter icing), which I flavoured with lemon rind and juice and then filled the cake with raspberry jam and fresh whipped cream. I then made a Lime Velvet Frosting and had a slight disaster,which I managed to rectify and coloured it a mint green colour to represent the grass. I iced the cake with a spatula and tried to get it as smooth as possible. I blasted about 5 Oreo cookies in a food processor for a couple of seconds till they were crushed and looked like "soil". I then sprinkled the "soil" over half the cake,then placed some worm sweets in the soil and some chocolate ladybirds on the grass and there you have it,a very simple and quick birthday cake that looks pretty.
Showing posts with label Birthdays. Show all posts
2/24/2013
Simple and Quick Garden Insect Cake
Etiquetas:Restaurants
Baking,
Birthdays,
Cake Decorating,
Cakes/ Biscuits,
Delia Smith,
Frosting,
Fruit
1/04/2013
Stars & Moon Cupcakes
December has been a hectic month, what with preparations for Christmas etc,leaving me with little or no time to blog or even to make mince pies and my Christmas cake!!
I just about managed to squeeze in these cupcakes,which I made for a friend´s little boy´s first birthday. The cupcake was a raspberry jammy cupcake, a recipe taken from Hannah Miles´s Big Book of Cakes and Biscuits, with a chocolate buttercream which I found a little too sweet, maybe owing to having run out of Tate and Lyle icing sugar and having to buy a different brand that was actually flavoured with vanilla and not noticing till it was too late! I then coloured some left-over fondant from my cupcake course(this is an upcoming post!) yellow and using my star and moon biscuit cutters,cut out the fondant shapes and placed them on top of the cupcakes and ta-da!!! star and moon cupcakes....made fairly quickly and easily!
Etiquetas:Restaurants
Baking,
Birthdays,
Buttercream,
Cake Decorating,
Chocolate,
Cupcakes,
Fondant
7/17/2012
Apple & Pecan Chocolate Cake with Chocolate Glace Icing
I made this cake for my husband´s birthday even though it´s not a very birthdayish looking cake but he doesn´t really like buttercream or fondant and in this way, I can also practice my cake decorating skills with chocolate!
This cake is moist and not overly sweet so is great for those who haven´t got much of a sweet tooth. The recipe is taken from the book: Best Ever Chocolate Cakes & Slices by Konemann....however it´s not very 100 Mile!!Here´s the recipe:
Ingredients:
1 cup self-raising flour, sifted
1/2 cup caster sugar
2 tbsp cocoa powder,sifted
2 eggs, lightly beaten
1/2 cup oil (I used sunflower oil)
2 green apples, peeled and grated
1/3 cup of pecans,chopped
Method:
1.Preheat oven to 180ºC. Grease and line a 21x14x7cm loaf tin with baking parchment.
2. Mix flour, cocoa and sugar together, then add the combined eggs and oil and beat until ingredients are well mixed and there are no lumps and mixture has increased in volume.
3. Fold in pecans and grated apple.
4. Spoon into tin and bake for 45 mins or until toothpick comes out clean when inserted.
When cool, you can decorate the cake as desired. Instead of the decoration suggested in the recipe, I made a simple chocolate glace icing, using icing sugar, cocoa and water,which I made by guesstimation and iced the top of the cake with, then I decorated the cake with pecan nuts and Dr. Oetker´s Chocolate Hearts, which can be found in LeClerc.
Etiquetas:Restaurants
Baking,
Birthdays,
Cake Decorating,
Cakes/ Biscuits,
Chocolate,
Fruit,
Glace Icing,
Nuts
6/04/2012
Ladybird cake for my daughter´s first birthday & Annabel Karmel´s white and dark chocolate cupcakes
I was busy preparing her first birthday party,preparing and decorating the Annabel Karmel White & Dark Chocolate cupcakes and making and decorating her first birthday cake, a ladybird cake plus preparing two salads and other party food. Luckily, I had my parents´,my inlaws and my husband´s help but parties are definitely hard work....maybe next year we´ll have the party in a ball pool place so all I have to do is stick to making the cake!!!It also means that I´d actually get to spend more time with my daughter on her actual birthday!
I made the cupcakes on the Friday two days before the party and froze them,then took them out to defrost early on the morning of the party. I made the white chocolate buttercream and decorated them with red heart sprinkles and yellow and white star sprinkles.
The ladybird cake was a Hot Milk Sponge cake made the day before the party. I found this link about a ladybird cake, which helped me a lot. I covered the cake with red and black fondant and cut black fondant circles out for the ladybird´s spots using a bottletop (a great tip from the link I found)! Who says you need fancy equipment to decorate cakes? The leftover white fondant I had was rock hard but as I had a bit of white chocolate buttercream left I used that for the whites of the ladybird´s eyes but unfortunately it wasn´t quite as neat and round as I´d have liked and two more black fondant circles for the pupils. I was going to use pipe cleaners for the antennae but couldn´t find any so used the bendy part of two straws instead. I covered them in black fondant and then made two small balls for the feelers of the antennae. I was pretty pleased with the end result!
Etiquetas:Restaurants
Annabel Karmel,
Birthdays,
Buttercream,
Cake Decorating,
Cakes/ Biscuits,
Chocolate,
Cupcakes,
Fondant
8/22/2011
Giraffe Number Seven cake
I made this Number Seven Giraffe cake for my niece´s seventh birthday, which I took the idea for from Tartas de Fiesta Infantiles by Anne Wilson. I was planning on making my Hot Milk Sponge cake but decided to take a shortcut seeing as I have less time now and -horror of horrors!-used a packet cake mix, Mary Lee American Yellow Sponge cake, which was very quick, easy and delicious. I cooked it in two elongated cake tins and then shaped one to make a rounded face. I think I rounded it a bit too much so it doesn´t quite look as much of a number seven as it should! I then cut a triangle off the other to make it neck shaped, then stuck them together with a little raspberry jam!
This time I tried a different buttercream, Hannah Miles´ buttercream recipe from Big Book of Cakes & Cookies, as usually the buttercream recipe I use doesn´t set, which maybe due to the heat. I coloured the majority of the buttercream yellow and about 1/4 cup of it orange using red and yellow liquid food colouring. Using a palette knife I covered the cake with the yellow buttercream as smoothly as possible but still managed to get crumbs mixed in it. I need to learn how to crumb coat! I then filled a disposable icing bag with the orange buttercream and using a 12 " icing nozzle, piped orange blobs for the giraffe´s spots. For the mane and the giraffe´s mouth,nose and eyes I used sweets such as liquorice and blackberries and voíla a friendly giraffe number seven cake!
I think it was a big hit at my niece´s birthday party as it was soon gobbled up and some kids even went back for seconds or thirds! Next year I think I´ll have to make a bigger cake!!
Etiquetas:Restaurants
Baking,
Birthdays,
Buttercream,
Cake Decorating,
Cakes/ Biscuits
3/12/2011
Quick & Easy Hot Milk Sponge Cake with Lemon Glacé Icing
I like to try out new recipes or different recipes for the same thing and decide which recipe I think is the best and I came across this recipe for a Hot Milk Sponge cake in my Better Homes & Gardens cookbook. I wanted to make a cake for my friend´s birthday so I thought I´d give the recipe a try.
The recipe was really easy to follow and very quick, ideal for when you need to whip up a cake but don´t have much time to spare. It also looks like the resulting sponge cake is very light and fluffy and it gave off a lovely aroma as it was baking. What´s more it´s only 180 calories so it´s fairly low fat.Here is the recipe for the cake as given in Better Homes & Gardens:
Ingredients
2 eggs (it is better if they have been left at room temperature for around 30 mins as apparently when you whisk them, they will have more volume)
1 cup plain flour
1 tsp baking powder
1 cup sugar
1/2 cup milk
2 tbsp butter
Method
1.Grease a cake tin (I used a 22/23 cm round cake tin) although the recipe called for a 9x9x2 inch square tin). Mix flour and baking powder together.
2. Whisk eggs together till thick, gradually add sugar and continue whisking till light & fluffy.
3. Add egg mixture to flour and stir till combined.
4. Heat milk and butter in a pan until butter has melted. Add to flour mixture and mix well.
5.Pour mixture into cake tin and bake in a preheated oven at 350º (180ºC) for 20-25 mins.
I decided to decorate the cake with a simple Lemon Glacé icing (adapted from The Dairy Book of Home Cookery)once it had cooled:
Lemon Glacé Icing
225g sifted icing sugar
roughly 1tsp grated lemon peel
2 tbsp of lemon juice ( It seemed a bit stiff so I added a dessertspoon of hot water and about another 1/4 tsp lemon juice)
2-4 drops of yellow food colouring (optional)
Mix all the ingredients together till all ingredients are blended and you get a stiff(ish) but spreadable icing. I only added two drops of food colouring but as you can see on the photo, the icing is a very pale yellow (so pale that it even looks white!) so next time I will double the amount to end up with a stronger yellow. I wanted to use up some of the decorations I already have so I used my chocolate and pink icing pens to write "Happy Birthday" and draw flowers using silver balls as the flower centres. I thought the pink flowers and pale yellow would reflect the colours of spring. It´s quite cute but fairly amateurish....don´t think I would win the Great British Bake Off just yet! I really need to brush up on my piping skills!
Etiquetas:Restaurants
Baking,
Birthdays,
Cake Decorating,
Cakes/ Biscuits
11/06/2010
(Not quite Mickey) Mouse Birthday Cake
I then covered the top of the cake with the yellow buttercream and then with a chocolate icing pen I had, I piped the outline of the face, the eyes, mouth and eyebrows. I then used chocolate hundreds and thousands/sprinkles to fill in the hairline. Not an easy job as they tended to fall wherever, not where you wanted them to fall! Using a piping bag, I outlined the mouth with the red buttercream and then coloured in the mouth. I then completed the face with large jelly beans for the eyes ( looking back really I think they were too big for the irises!), a marshmellow for the cheek and a blackberry sweet for the nose. The ears were a bit tricky to assemble too. I used 3 digestive biscuits for each ear,which I tried to stick together using the chocolate icing. I also tried to stick a toothpick between the biscuits which I then inserted into the cake, which didn´t work too badly but not as well as I had hoped!
Etiquetas:Restaurants
Baking,
Birthdays,
Buttercream,
Cake Decorating,
Cakes/ Biscuits
8/22/2010
Snake Sixth Birthday Cake
I have been a bit lazy on the blogging and cooking front lately-what with the heat and holidays and everything but the other day I made a 6th birthday cake for my niece. As she´s not really that keen on cake, I decided to bake a plain sponge cake, Yellow Cake which had a subtle hint of lemon and vanilla. I got the idea for the cake from a book called Tartas de fiesta infantiles-I don´t think it´s bad for a first attempt at a more "elaborate" cake!! However, I still need plenty of practice at cake decorating.
The recipe called for a round cake tin of 20cm but even though I looked everywhere could I find one, could I heck so had to settle for a 26cm cake tin. In order to save time, I used a bought Swiss roll for the arm of the six and only baked the round sponge. I then made a simple buttercream, reserving 1/2 cup of it, and experimented with food colouring to make a nice green colour and iced the cake. I ran out of buttercream though and had to make up some fresh buttercream, then use more food colouring till it was the exact same colour as the first. I started to rush towards the end as the party had already started and I still hadn´t finished the cake so it got a bit sloppy towards the end, it wasn´t as smooth as I´d have liked!
I also cut off part of the Swiss roll for the snake´s head. I then used dyed 2 teaspoons of the 1/2 cup of remaining buttercream violet (although it looked more black) and used the piping bag to pipe the eyebrows. I then dyed the remaining buttercream a lighter green and again using the piping bag(for the first time in my life!)piped a kind of V shape for the snake´s scales. They were a bit blobby in places but not too bad for a first attempt. I then used liquorice sweets for the eyes, tongue and for further decoration.
The cake seemed to be quite a success even though I´m not sure if my niece tried it but some kids went back for seconds! There wasn´t much left of it so it must have been ok! It took me almost all day to make it and I was exhausted by the time I´d finished it!!The kitchen also looked like a bomb had hit it!!
Etiquetas:Restaurants
Baking,
Birthdays,
Buttercream,
Cake Decorating,
Cakes/ Biscuits
3/21/2010
Cake Decorating-Marbled Honey & Chocolate Cake
I´ve always loved baking ever since I used to help my Gran, who´s a great cook, when I was a little girl. Although my passion for baking has increased, I still have a lot to learn especially when it comes to the decorating part!! I usually make cakes for my boyfriend´s birthday and my friend´s birthday but usually either I haven´t made enough icing or it doesn´t turn out very smooth so I am particularly proud of my latest cake as it´s the prettiest cake I´ve ever decorated!
I chose to make a Marbled Honey & Chocolate cake but I haven´t included the recipe as it was from one of my recipe books "Chocolate Cakes & Slices" and I followed the recipe to the letter. The resulting cake though was very tasty and really moist. Armed with my new gigantic sized spatula, I set to work icing the cake with a chocolate honey flavoured icing, which as you can see turned out pretty smooth for once!
This is the before picture. I found some sugar stars and a pink icing pen (I think I would rethink the pink icing on chocolate next time-alhough the icing pens only came in the choice of two colours: pink or chocolate!)in the supermarket, which I thought would jazz up the cake and make it look prettier. I placed the stars around the outer edge of the cake alternately, white, yellow, white, yellow, then using the icing pen wrote the message, which was a little splotchy but not too bad for a beginner!Here´s the cake after I´d finished decorating it! It was a belated cake for my friend´s 30th birthday!
I chose to make a Marbled Honey & Chocolate cake but I haven´t included the recipe as it was from one of my recipe books "Chocolate Cakes & Slices" and I followed the recipe to the letter. The resulting cake though was very tasty and really moist. Armed with my new gigantic sized spatula, I set to work icing the cake with a chocolate honey flavoured icing, which as you can see turned out pretty smooth for once!
Etiquetas:Restaurants
Baking,
Birthdays,
Cake Decorating,
Cakes/ Biscuits,
Chocolate
Subscribe to:
Posts (Atom)