4/16/2010

Baby Cupcakes & Glace icing

I´m on a baking roll at the mo!! I saw these cute baby shower cupcakes on the Internet and thought they didn´t look too difficult to make so I thought I´d have a bash at making them for some friends, who´ve just had their second baby, a baby boy. I found some blue paper cupcake cases in the Chinese shops and made a simple vanilla cupcake (if you want I can post the recipe). I was a little disappointed as the cupcakes didn´t have as strong a vanilla flavour as I was expecting them to have, maybe it has something to do with using aroma de vanilla (I´m not sure if it´s exactly the same thing as vanilla essence or extract but it´s the closest I can get where I live!) I´ve come to the conclusion that I need some a muffin pan as the one I have is better for fairy cakes.


Glace icing is one of the easiest frosting for cakes however I´ve only made glace icing a few times and usually I´ve never had enough to cover the whole cake/s. So, this time I referred to the Internet but my icing turned out too thin so I added more icing sugar and a little water until it had the perfect consistency. This is my recipe for glace icing:

200g icing sugar
2tbsp and 1/4tsp water
Mix until it reaches right consistency and spreadability.

After consulting the Internet once again about how to obtain a skin-coloured icing, I added one drop of red food colouring and two drops of yellow food colouring (which you can now also find in the supermarket Eroski!!).I think my skin tone colour turned out pretty realistic even if I do say so myself. Using the chocolate icing pen, I drew a little curl for the hair, the eyes and mouth. For the dummy, I used gummy sweets. I used red euro style gummy coins although I had wanted something with a more oblong shape but couldn´t find exactly what I was looking for! On the website where I first saw these baby cupcakes they used Lifesavers or you could also use fruit Polos but seeing as I couldn´t get either of these in Spain, I saw some gummy sweets with a plastic dummy holder, which were perfect. I pulled off the gummy sweets and made a slit in the gummy coins and inserted the plastic dummy holders into the gummy coin, then stuck it into the cupcakes and vóila, you have some easy and really cute baby shower or christening cupcakes!



4/06/2010

Low-fat gingernuts

Baking is my new passion and as they say practice makes perfect! However, as I´m getting married soon and don´t want to put on weight, I opted to make these low fat gingernuts using a recipe from my trusty Weight Watchers Made to Measure recipe book. I used to be able to buy McVities gingernuts in the local Mercadona but they stopped selling them and this homemade version is just as good if not better! Usually when I bake biscuits they never turn out right but I have to say these are the best biscuits I´ve ever made! Although the biscuits were quite small, they were quite thick and chunky with a nice crunchy base. I didn´t alter the recipe as it didn´t need it and at only 80 calories per biscuit, what more could you want ?


Gingernuts (makes 12) according to Weight Watchers recipe book


Ingredients


2 tsps ground ginger


120g (4 oz) self-raising flour


1/4 tsp ground cinnamon


1/2 tsp bicarbonate of soda


60g (2oz) margarine


1 tbs honey


30g (1oz) soft brown sugar

Method


1. Preheat the oven to 180ºC, 350ºF,Gas Mark 4


2. Sieve flour, spices and bicarbonate of soda into a bowl.


3. Heat the margarine, honey and sugar in a small saucepan until the margarine has melted and the sugar has dissolved.


4.Pour into flour and mix well.


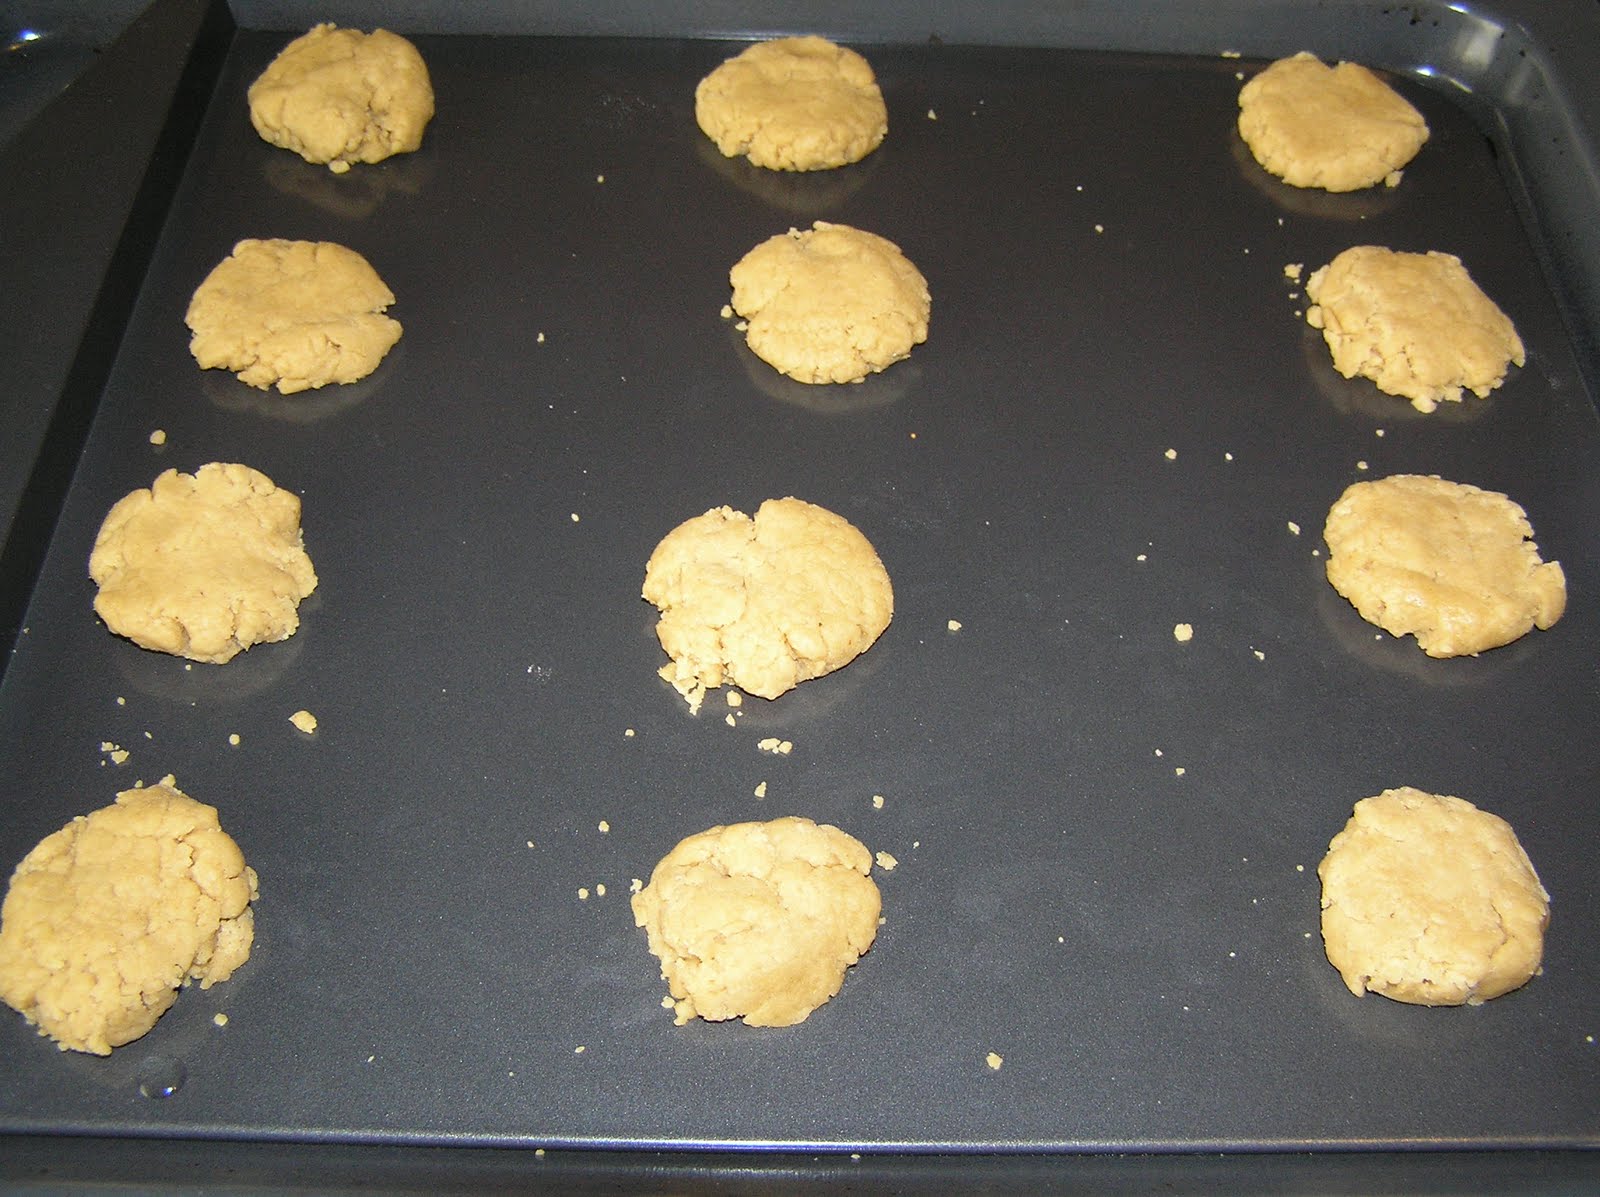
5. Divide mixture into twelve equal pieces and form into balls as shown in the picture:


6.Flatten biscuits slightly with the palm of your hand:


7. Bake in oven for 15-20 mins till biscuits turn a golden brown colour.

Once cool, you can enjoy them with a nice cup of tea!
Tip: I once read or heard a tip from Jaime Oliver or someone to get honey or golden syrup to run off your spoon, run the spoon under hot water for a couple of minutes and then the honey/syrup should run off the spoon easier.


3/21/2010

Cake Decorating-Marbled Honey & Chocolate Cake

I´ve always loved baking ever since I used to help my Gran, who´s a great cook, when I was a little girl. Although my passion for baking has increased, I still have a lot to learn especially when it comes to the decorating part!! I usually make cakes for my boyfriend´s birthday and my friend´s birthday but usually either I haven´t made enough icing or it doesn´t turn out very smooth so I am particularly proud of my latest cake as it´s the prettiest cake I´ve ever decorated!

I chose to make a Marbled Honey & Chocolate cake but I haven´t included the recipe as it was from one of my recipe books "Chocolate Cakes & Slices" and I followed the recipe to the letter. The resulting cake though was very tasty and really moist. Armed with my new gigantic sized spatula, I set to work icing the cake with a chocolate honey flavoured icing, which as you can see turned out pretty smooth for once!

This is the before picture. I found some sugar stars and a pink icing pen (I think I would rethink the pink icing on chocolate next time-alhough the icing pens only came in the choice of two colours: pink or chocolate!)in the supermarket, which I thought would jazz up the cake and make it look prettier. I placed the stars around the outer edge of the cake alternately, white, yellow, white, yellow, then using the icing pen wrote the message, which was a little splotchy but not too bad for a beginner!Here´s the cake after I´d finished decorating it! It was a belated cake for my friend´s 30th birthday!


3/10/2010

Pork Stroganoff


(Just added a photo to this post after making this dish again!)
I´d taken a pork fillet/escalope out which had been left over and was at a bit of a loss as to what to do with it seeing as I was only cooking for myself. In the end, I decided to use up some of my leftovers and although I wouldn´t say that I´m a very creative cook, I came up with this pork stroganoff dish without using a recipe,which turned out to be rather delish, even if I do say so myself! Unfortunately, I didn´t get a photo of it as I was so hungry that it hardly lasted two minutes on the plate before I had wolfed it down! This is roughly what I did!

Ingredients (Serves 1)

1 small pork fillet/escalope (it was so small I actually added the green pepper to bulk out the meal and add more veggies to the meal)

1 small onion or 1/2 a medium onion, chopped

1/4 green pepper, chopped

3 small mushrooms, sliced

1 tbsp plain flour

1/4 cup cream ( the remainder in my case)

salt & pepper to taste

1/4 cup of cider (also left over from other pork recipes)

olive oil or butter

Method

1. Chop pork fillet into thin slices.

2. Fry onion, mushrooms and green pepper till tender.

3. Add pork & season with salt & pepper and fry till browned.

4. Mix flour and cream together.

5. Add cream and the cider and cook till sauce thickens and pork is cooked through, about 5-10mins.

6. Serve with pasta or rice.

If the sauce reduces too much, add a little more cream (or milk in my case as I didn´t have any more cream). If anyone decides to make this recipe, I´d love to hear your feedback and any suggestions of how to improve it & make it even more tasty!

2/26/2010

Cooking with kids:Traditional Flapjacks

Every Sunday my niece comes to play,speak and learn English so I thought it´d be nice to try a spot of baking with her, bearing in mind this was my first time trying to bake with kids!! A disaster waiting to happen almost!! As I am getting married this year and don´t want to put on any weight, I´m trying not to do too much baking or eat too many biscuits and cakes so I went for a recipe from my Weight Watchers recipe book. I decided to make traditional flapjacks as I thought it would be a fairly easy recipe to do with kids. Maybe not the most kid-friendly recipe as you have to stir the mixture over the heat most of the time and there wasn´t a lot that a child, especially if they are quite young, could actually do. She got to add the sugar and oats etc but it was got a bit messy as some of the sugar and oats ended up on the floor, on the hob, everywhere!! Or maybe it was just my own inexperience of baking with kids!! Anyway, we had fun doing it and next time, I´m hoping I´ll learn and pick a more kid-friendly recipe. Unfortunately, my niece doesn´t like sweet things and wouldn´t even try any of the flapjacks. I´m hoping I can eventually bring her round to the sweeter things in life.


Here´s a link to the recipe I used from Weight Watcher´s seeing as I didn´t tweak or change anything....the only slight difference was that I used a mixture of butter and margarine....so much for trying to bake something low-fat!! If you can´t find golden syrup, you could replace it with honey. You could also dip the flapjacks in chocolate or add nuts, raisins or other dried fruit.

Weightwatchers flapjack recipe (maybe not the best photo and next time I´d take them out about 5 mins earlier!)

1/19/2010

Prawn Toasts

Just wanted to wish you all a Happy New Year and all the best for 2010! I made these prawn toasts for a buffet style meal (at least I thought it was)for New Year´s Eve as it´s something I´ve been wanting to try for awhile now.Also, it´s one of the only things I eat which contains prawns as I am not keen on fish or seafood.
Prawn Toasts (Makes 12)


137g prawns, desfrosted (or you could use fresh)

1/2 spring onion, finely chopped (white part only)

10g water chestnuts

1/2 beaten egg

1 tbsp cold water

3 slices of bread (I used bread with no crusts, if it has crusts cut them off)
enough oil for frying (I used olive oil)
1/4 cup of sesame seeds


Method


1. Blitz the spring onion and water chestnuts in a food processor.

2. Add the prawns, egg and water and again blitz in the food processer till you end up with a paste.
3.Spread the bread with prawn paste and cut into 4 triangles and dip into sesame seeds.

4. Fry in abundant hot oil with the sesame seed side facing up until it is golden and crispy and you have an easy,quick Chinese starter or party snack!


12/08/2009

Food & Don Quijote (El Mirador de la Mancha)

I have been doing some cooking but due to my hectic schedule, I don´t have much time to experiment or get too creative...barely have time to get something on the table and eat it,never mind take a photo of it and blog about it!I will be blogging about one of my Gran´s recipes,once I´ve tweaked it a bit and perfected it!!

It was my birthday a couple of weeks ago so my parents came to visit and we had a lovely weekend stuffing ourselves. We went to Villarubia de los Ojos with my parents and my boyfriend´s parents to a lovely restaurant called El Mirador de la Mancha, which is completely made of wood and is very cosy. It is nestled at the top of a hill in the sierra with windows overlooking the valley below so you have great views while you eat your meal. The first thing you see as you make you way to the restaurant is a giant Don Quijote made of wood and some great lookout points. There are plants and a little waterfall and the surroundings are stunning. The restaurant also has cabañas (wooden chalets) and a swimming pool so would make a lovely escapade for a weekend in the country.


We ordered various typical starters from the region (Castilla-La Mancha)which included migas -a dish made of breadcrumbs, garlic, green peppers,chorizo and sometimes grapes, duelos y quebrantos -a dish which is a bit like scrambled egg with Iberian ham and chorizo in it (I´m always a bit dubious about this dish as I think it sometimes also has brains in it!!)-, gachas- a paste made from flour ,with a consistency similar to porridge, with small bits of chorizo in it and goats cheese with caramelized onion (probably not so typical of the region but divine anyway -definitely my fav of all the starters!)


Most of us chose either cochinillo (roast suckling pig), which was accompanied by roasted red pepper and potatoes or paletilla de cordero (lamb shoulder)which was also accompanied by potatoes and red pepper,if I remember correctly. I went for the cochinillo, which was tender and succulent on the inside and had a golden,crispy skin on the outside-perfect! The portions were fairly generous and unfortunately I was too full to do it complete justice. We skipped dessert as we were all too stuffed! The main dishes were reasonably priced too, at 15 euros each. Definitely worth a visit if you are ever passing through Castilla-La Mancha! There is also a little chapel a little farther up from the restaurant which is good to visit for the views (the chapel itself was closed when we went so I can´t comment on whether it is worth entering!)
 
Related Posts with Thumbnails